谷歌终于发布了官方的下拉刷新组件:SwipeRefreshLayout ,它被包含在了19.1.0版本的Support Library中。SwipeRefreshLayout在使用上非常简单,只需要把要刷新的可滚动组件放到SwipeRefreshLayout 中,
1 2 3 4 5 6 7 8 9 10 11 12 13 14 15 16 17 18 19 <android.support.v4.widget.SwipeRefreshLayout xmlns:android ="http://schemas.android.com/apk/res/android" android:id ="@+id/swipe_container" android:layout_width ="match_parent" android:layout_height ="match_parent" > <ScrollView android:layout_width ="match_parent" android:layout_height ="match_parent" > <TextView android:text ="@string/hello_world" android:layout_width ="match_parent" android:layout_height ="wrap_content" android:layout_marginTop ="16dp" android:gravity ="center" /> </ScrollView > </android.support.v4.widget.SwipeRefreshLayout >
然后调用setOnRefreshListener(OnRefreshListener listener) 和 setColorScheme(int colorRes1, int colorRes2, int colorRes3, int colorRes4)两个方法进行设置,在OnRefreshListener中实现onRefresh()方法即可:
1
2
3
4
5
6
7
8
9
10
11
12
13
14
15
16
17
18
19
20
@Override protected void onCreate (Bundle savedInstanceState) { super .onCreate(savedInstanceState); setContentView(R.layout.activity_main); swipeLayout = (SwipeRefreshLayout) findViewById(R.id.swipe_container); swipeLayout.setOnRefreshListener(this ); swipeLayout.setColorScheme(android.R.color.holo_blue_bright, android.R.color.holo_green_light, android.R.color.holo_orange_light, android.R.color.holo_red_light); } @Override public void onRefresh () { new Handler ().postDelayed(new Runnable () { @Override public void run () { swipeLayout.setRefreshing(false ); } }, 5000 ); }
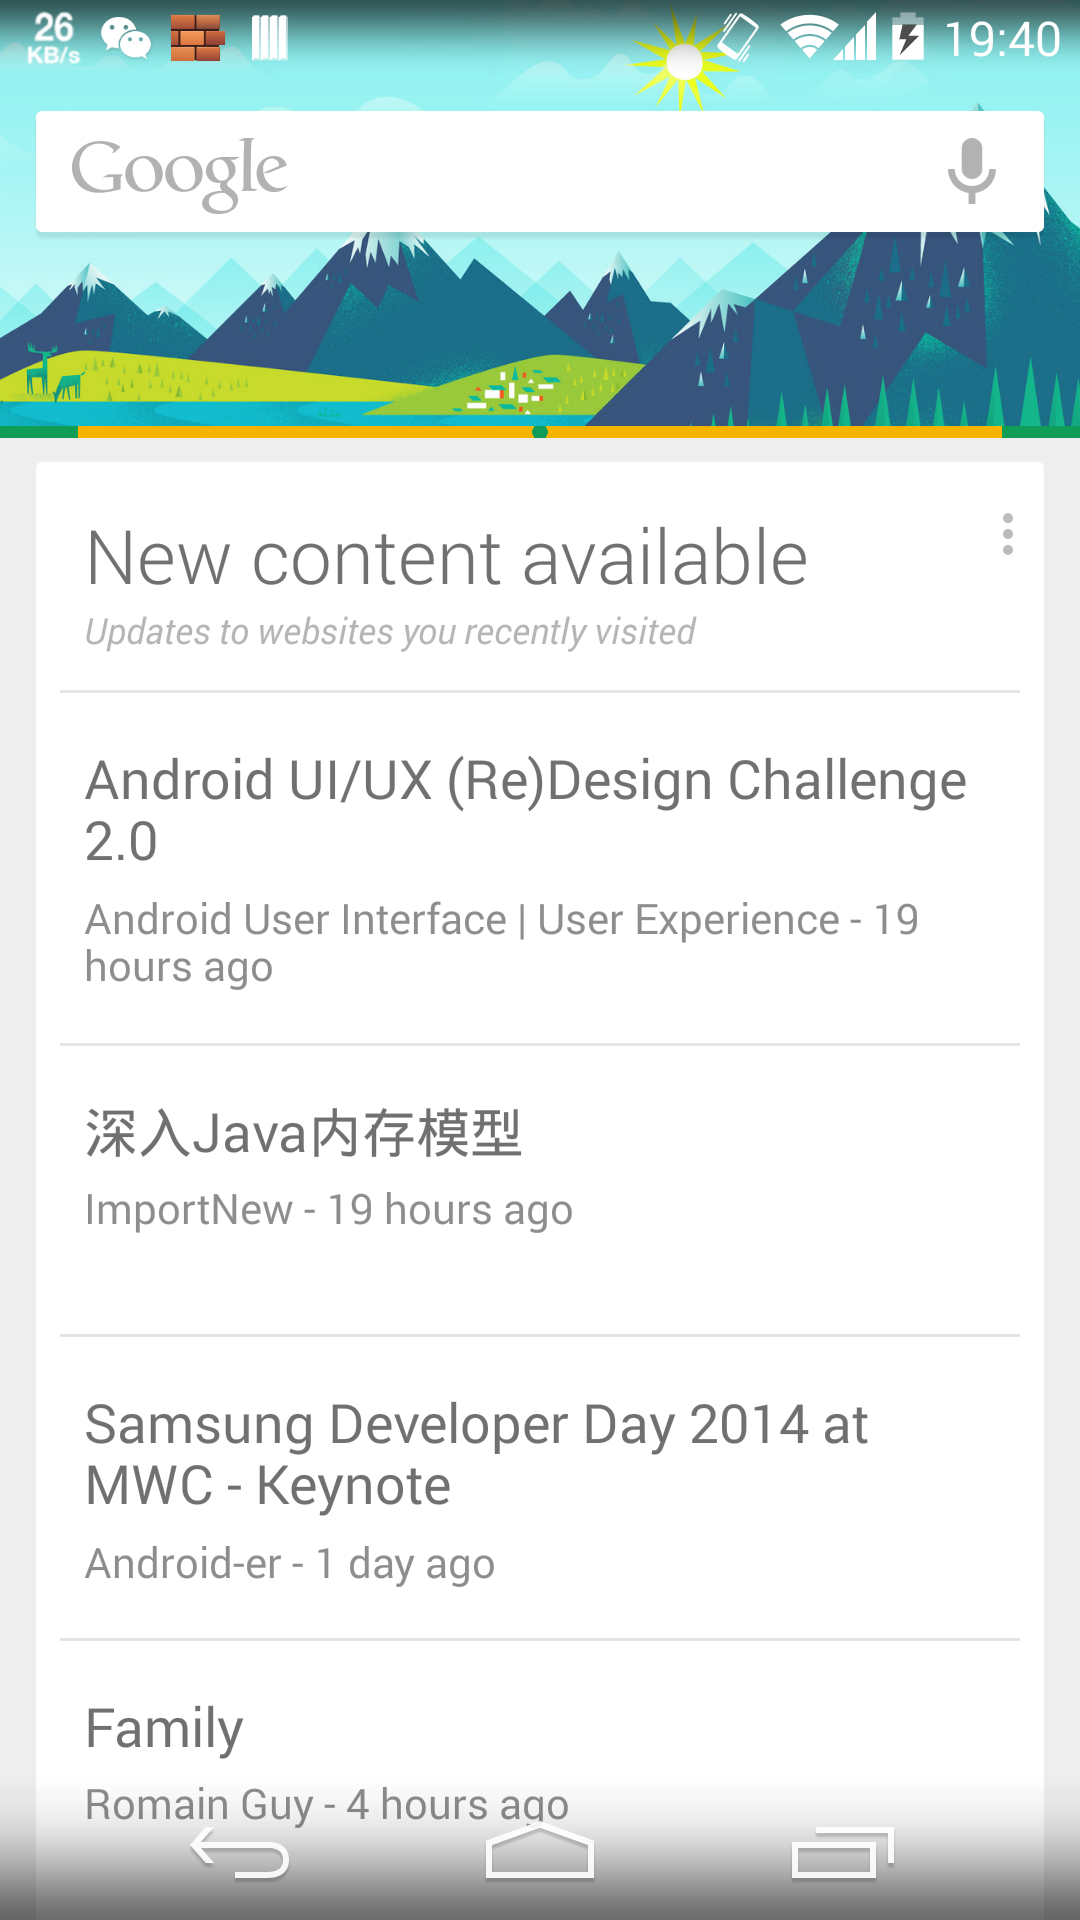
SwipeRefreshLayout实现了Google Now中刷新的风格,与之类似的有一个开源库ActionBar-PullToRefresh 则实现了Google Plus的风格。ActionBar-PullToRefresh的开发者在前不久建议大家使用SwipeRefreshLayout但是比较一下两者还是有一定的区别,SwipeRefreshLayout并不能完全取代
位置不同:ActionBar-PullToRefresh的刷新进度条始终在ActionBar底部,SwipeRefreshLayout的进度条在要刷新组件的顶部。
ActionBar-PullToRefresh在下拉的时候ActionBar会设置相应的文字指示,而SwipeRefreshLayout则只是把被滚动的组件随着手指的移动向下滑动。layout_height 和 layout_width无效,如果要在当前布局中显示其他非要被刷新的组件,则需要给SwipeRefreshLayout外套一个父容器:
1
2
3
4
5
6
7
8
9
10
11
12
13
14
15
16
17
18
19
20
21
22
23
24
25
<RelativeLayout xmlns:android="http://schemas.android.com/apk/res/android" xmlns:tools="http://schemas.android.com/tools" android:layout_width="match_parent" android:layout_height="match_parent" tools:context="com.xtuers.android.ui.question.DetailActivity" > <FrameLayout android:layout_alignParentTop="true" android:layout_width="match_parent" android:layout_height="wrap_content" android:layout_above="@+id/answer_bottom_container" > <android.support.v4.widget.SwipeRefreshLayout android:id="@id/swipe_refresh_container" android:layout_width="match_parent" android:layout_height="match_parent" > <ListView android:id="@+id/answer_list" android:layout_width="match_parent" android:layout_height="wrap_content" android:divider="@android:color/transparent" /> </android.support.v4.widget.SwipeRefreshLayout> </FrameLayout> ... </RelativeLayout>
Author:
linroid
Permalink:
http://linroid.com/2014/04/08/2014-04-08-google-refresh-widget/
License:
Copyright (c) 2019 CC-BY-NC-4.0 LICENSE
Slogan:
Do you believe in DESTINY ?